The beginning...
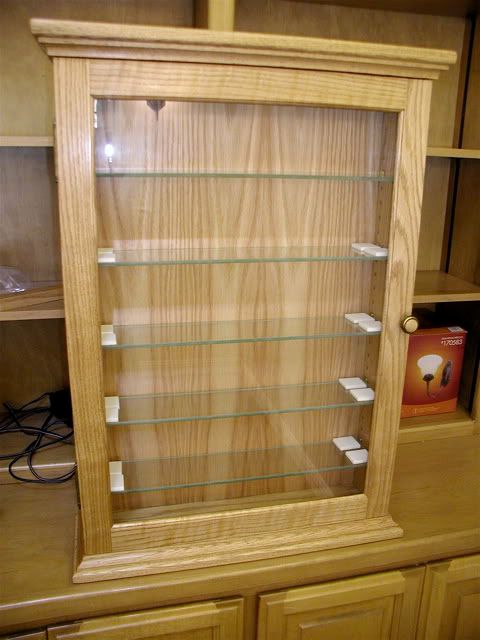
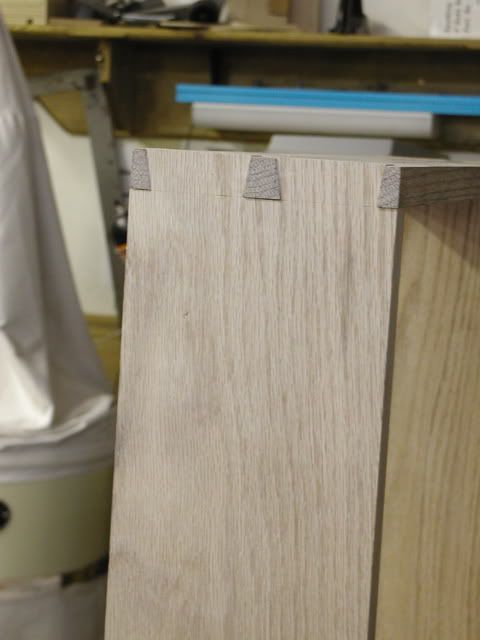
A friend at work collects shot glasses from all over the world and wanted a wall-hanging display cabinet to show them off. She asked me to build it for her out of oak to match her kitchen cabinets. Then she told me she has LOTS of glasses-probably 150 or more. We wrestled with some design issues, but decided on adjustable glass shelves rather than a lattice work type of grid for each glass. The case would have to be big and hold a lot of weight, so I decided that the case should be put together with dovetails for strength and mounted to the wall with a french cleat type of system. I didn't think even a splined miter joint would be a good idea, but may have gotten away with a locking rabbet joint (Opinions welcome…) Anyway, I went about the usual jointing/planing and cutting to size and then set off cutting the joints by hand-my first real attempt on a project after practicing on poplar scraps lying around the shop. After some nervous sawing and chiseling for what seemed like an eternity, they slipped together pretty well.
![Image]()
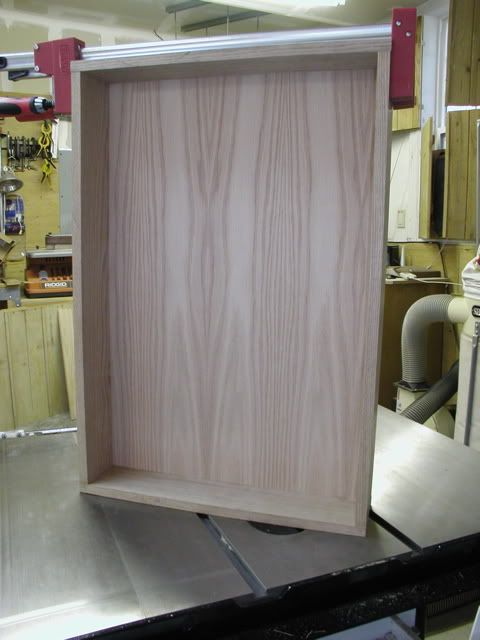
I dadoed in the back (1/4" ply) and so far so good. It is dry fit together so I've got my measurements for the overlay door.
![Image]()
More to folow.
A friend at work collects shot glasses from all over the world and wanted a wall-hanging display cabinet to show them off. She asked me to build it for her out of oak to match her kitchen cabinets. Then she told me she has LOTS of glasses-probably 150 or more. We wrestled with some design issues, but decided on adjustable glass shelves rather than a lattice work type of grid for each glass. The case would have to be big and hold a lot of weight, so I decided that the case should be put together with dovetails for strength and mounted to the wall with a french cleat type of system. I didn't think even a splined miter joint would be a good idea, but may have gotten away with a locking rabbet joint (Opinions welcome…) Anyway, I went about the usual jointing/planing and cutting to size and then set off cutting the joints by hand-my first real attempt on a project after practicing on poplar scraps lying around the shop. After some nervous sawing and chiseling for what seemed like an eternity, they slipped together pretty well.
I dadoed in the back (1/4" ply) and so far so good. It is dry fit together so I've got my measurements for the overlay door.
More to folow.