Planer Sled
As part of my workbench project I needed to mill up a somewhat large piece of lumber for the main chop on my face vise. It was larger than my 6" Jointer could handle. I needed to find an easy way to mill the 2 large faces. I have been wanting to make a Planer Sled for awhile now, so that's what I did.
I based mine on one Keith Rust did for Fine Woodworking "Flatten Boards without a Jointer". This article is available at finewoodworking.com, but it is only available if you have a subscription. For those of you that have back issues it was in #175.
I plan to make a couple different sizes of planer sleds, this first one will be a "smaller" sled. It's about 12" wide and about 48" long. It is more than long enough for this project.
I picked up some ½" birch plywood and some 1-by poplar for the sled. You will also need a bungee card and some kind on non-skid material.
First step was to cut the top and bottom to size and to rough out the 1-by stock.
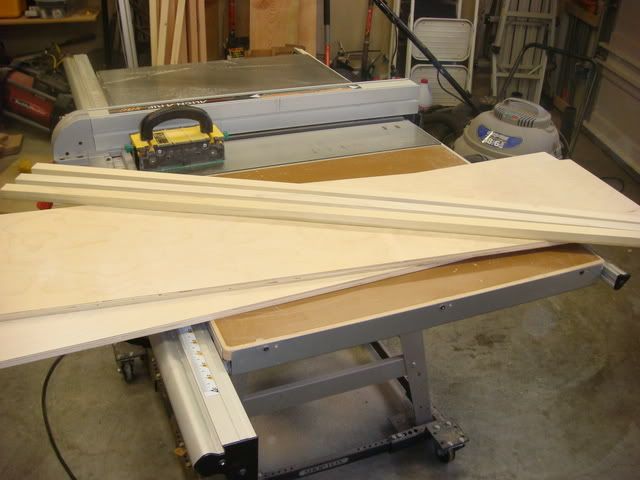
I then laid out where the 1-by ribs would go, on the inside of the bottom face. I came in about 1" on the sides and about 2" from the ends. I cut the ribs to size, but before attaching the ribs I sanded the top and bottom edges. I thought it would be easier to do this before it was assembled.
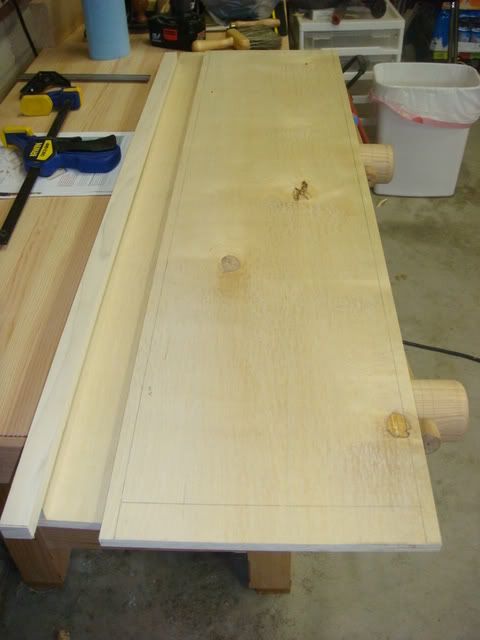
The mock-up vise I built a while ago really helped. It was able to hold the boards while I sanded them. I can see how this vise is going be very versatile when it is finished.
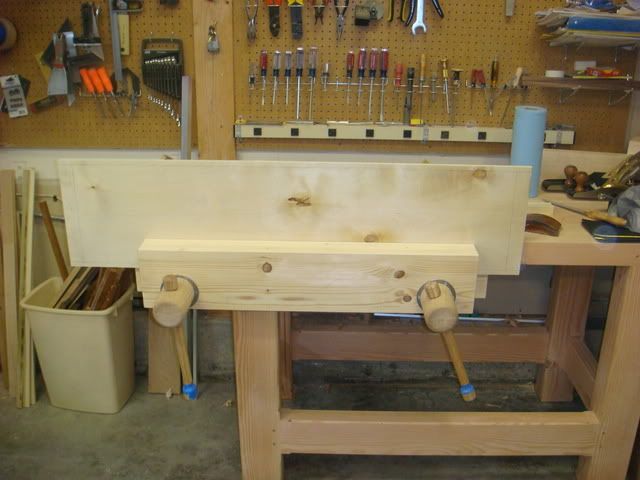
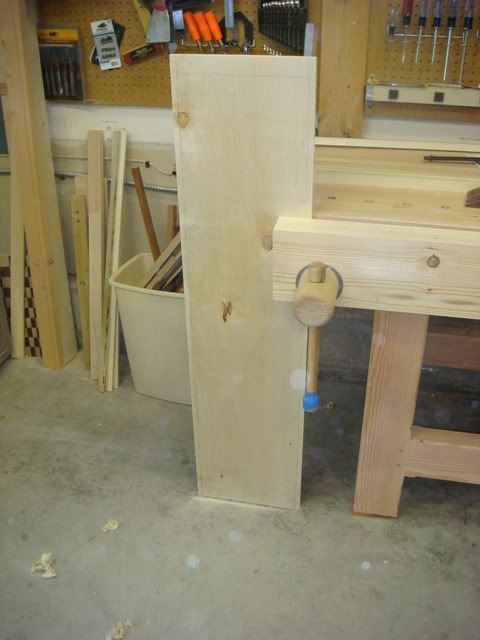
The next step was to assemble the sled. I glued and screwed the ribs to the bottom.
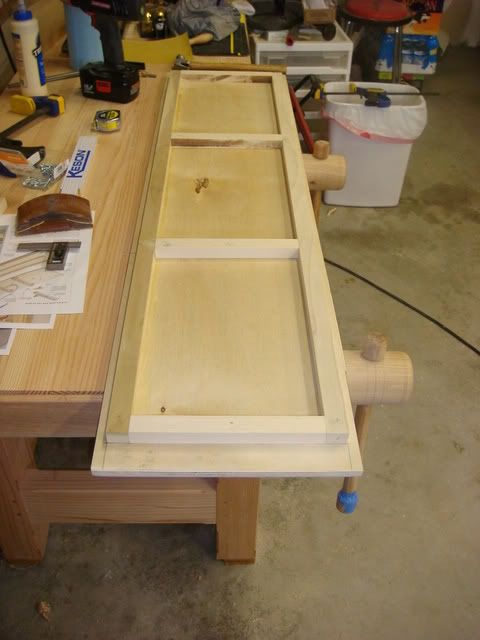
Then glued and screwed the top to the base.
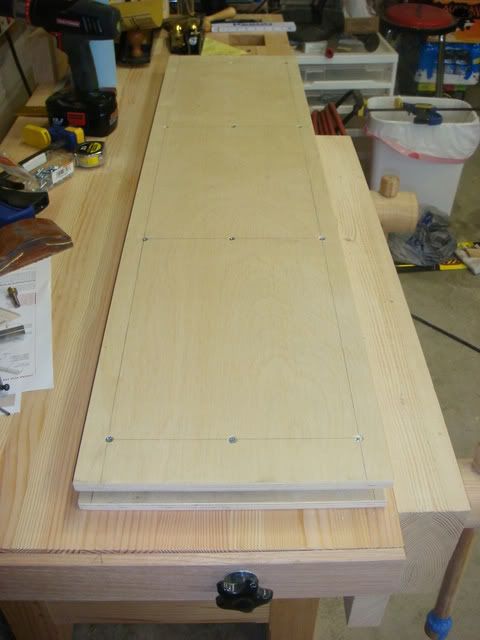
I made sure the screw heads were countersunk, so that they would not scratch the bed of the planer or be in the way on the top.
The next step was to work on the ribs and wedges that will be adjustable on the top of the sled. In Keith's article he made his wedges at 15 degrees, and that seemed to work for me. I chose to do most of my cuts on my band saw. I find myself using my band saw more and more lately. I find it safer for many rip cuts, over my table saw. I used the band saw to cut the wedge needed for the jig used to cut the slots in the ribs. These slots were cut on the table saw. The band saw was also used to cut the wedges that slide into the ribs. The band saw whipped these out quickly and safely.
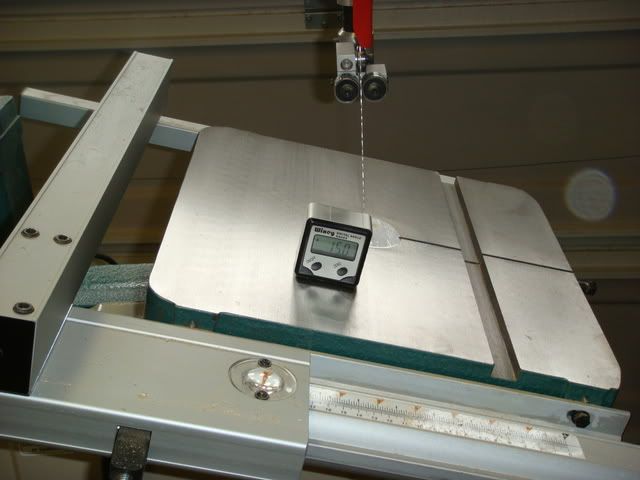
I'm not sure why but I didn't take any pictures of the little jig I made, for cutting the slots in the ribs. Keith shows his jig in the article.
Once the ribs and wedges were cut I needed to cut the wedges to size.
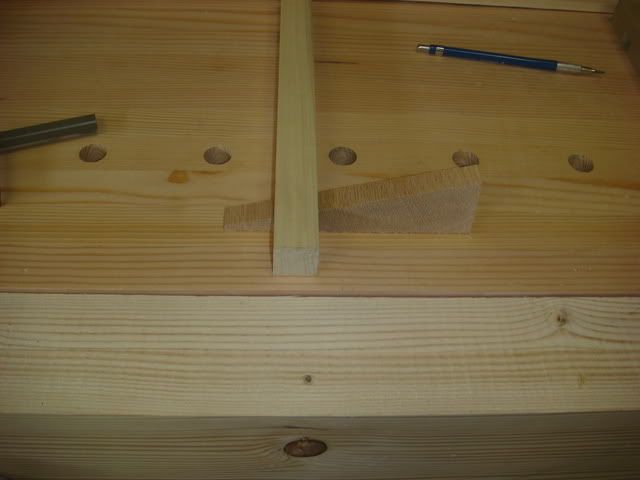
You can see I cut the wedges oversized. If I left them this big the board would never sit flat.
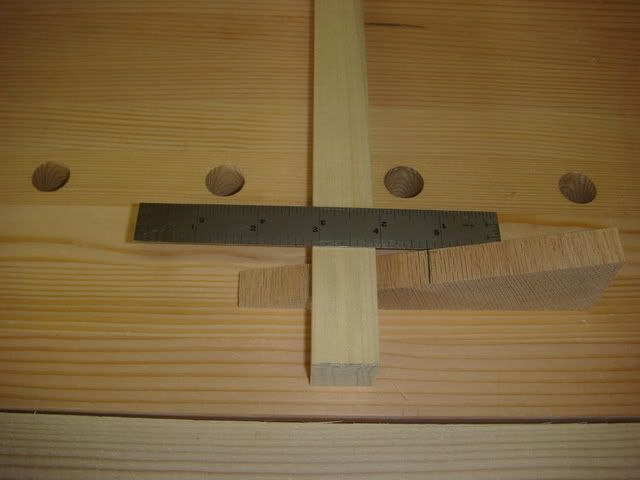
I simply laid a ruler across the rib and marked where it intersected the wedge. I cut it a little smaller, so that it would be lower than the rib.
I then applied my non-skid material (self-adhesive non-skid stair tread covering) to the tops of the ribs and the bottoms of the wedges.
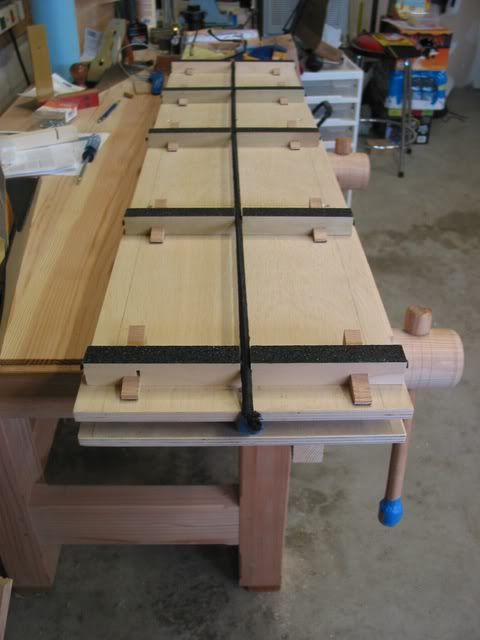
The bungee cord rides in grove cut into the tops of ribs and is attached with dowels at each end of the sled.
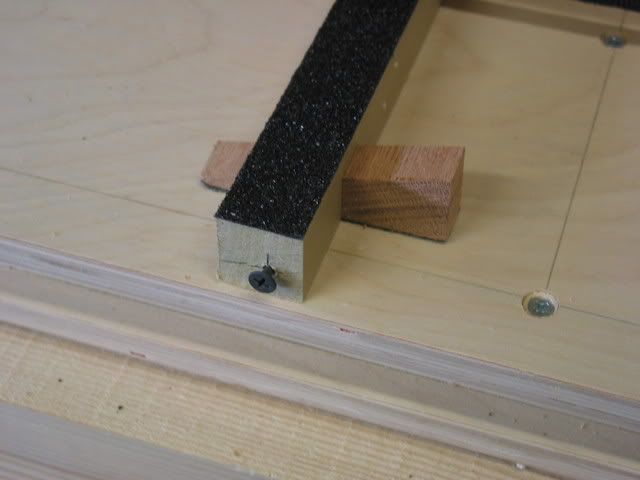
In Keith's article he used screws to secure the wedges after adjusting. You have to find the right size hole for this work well with your fingers. I played around with it for a while and half of mine worked well and half needed some help. I think I will look for something else that might work a little better.
This assembly only took a few hours, now it was time for a test run.
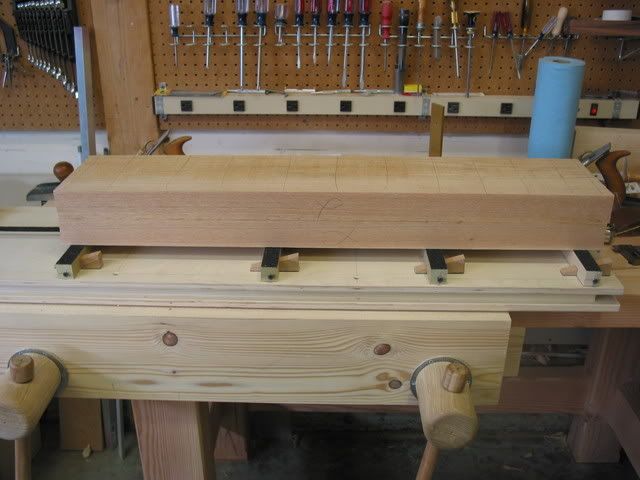
I placed the board on the sled, and looked at the ribs to see which ones were not touching the board. There were a few places where I had to push the wedges in to support the board.
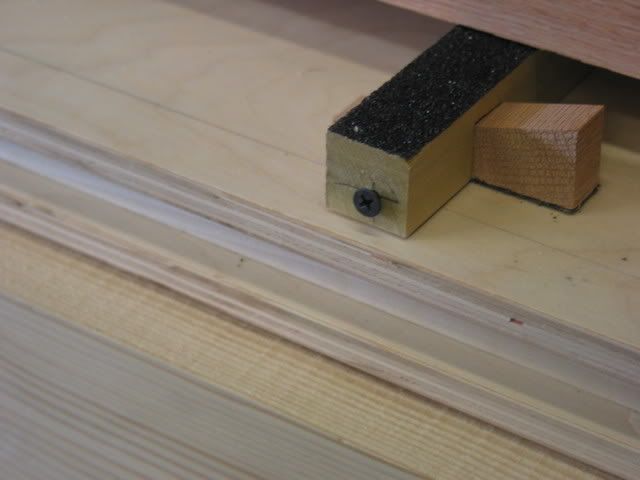
Not sure if you can it in this picture, but the rib needed to be lifted up a little.
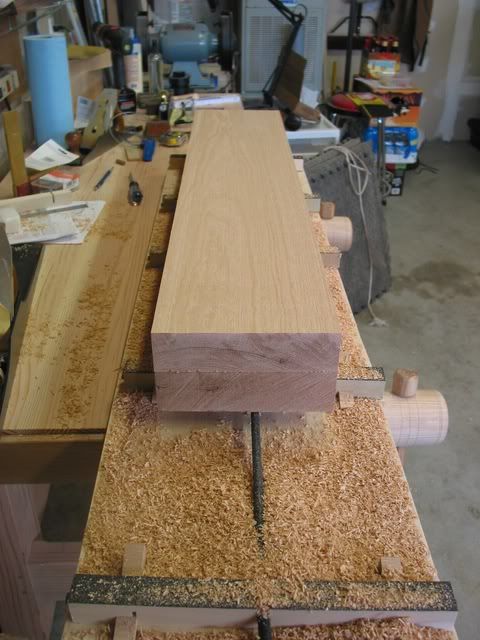
After a few passes through the planer, I had my first face flat. Keith mentions in his article/video that things can settle and move after the first couple of passes through the planer. Mine did move some and I had to adjust the wedges a couple of times. Over all it worked really well. I was a little concerned about the possibility of the board moving when going through the planer, but it stayed in place without any problems.
Now I can flatten some pretty wide boards, even though I only have a 6" jointer. I'll build some bigger sleds as the need arises, but this size should work well for most of my projects.
As part of my workbench project I needed to mill up a somewhat large piece of lumber for the main chop on my face vise. It was larger than my 6" Jointer could handle. I needed to find an easy way to mill the 2 large faces. I have been wanting to make a Planer Sled for awhile now, so that's what I did.
I based mine on one Keith Rust did for Fine Woodworking "Flatten Boards without a Jointer". This article is available at finewoodworking.com, but it is only available if you have a subscription. For those of you that have back issues it was in #175.
I plan to make a couple different sizes of planer sleds, this first one will be a "smaller" sled. It's about 12" wide and about 48" long. It is more than long enough for this project.
I picked up some ½" birch plywood and some 1-by poplar for the sled. You will also need a bungee card and some kind on non-skid material.
First step was to cut the top and bottom to size and to rough out the 1-by stock.

I then laid out where the 1-by ribs would go, on the inside of the bottom face. I came in about 1" on the sides and about 2" from the ends. I cut the ribs to size, but before attaching the ribs I sanded the top and bottom edges. I thought it would be easier to do this before it was assembled.

The mock-up vise I built a while ago really helped. It was able to hold the boards while I sanded them. I can see how this vise is going be very versatile when it is finished.


The next step was to assemble the sled. I glued and screwed the ribs to the bottom.

Then glued and screwed the top to the base.

I made sure the screw heads were countersunk, so that they would not scratch the bed of the planer or be in the way on the top.
The next step was to work on the ribs and wedges that will be adjustable on the top of the sled. In Keith's article he made his wedges at 15 degrees, and that seemed to work for me. I chose to do most of my cuts on my band saw. I find myself using my band saw more and more lately. I find it safer for many rip cuts, over my table saw. I used the band saw to cut the wedge needed for the jig used to cut the slots in the ribs. These slots were cut on the table saw. The band saw was also used to cut the wedges that slide into the ribs. The band saw whipped these out quickly and safely.

I'm not sure why but I didn't take any pictures of the little jig I made, for cutting the slots in the ribs. Keith shows his jig in the article.
Once the ribs and wedges were cut I needed to cut the wedges to size.

You can see I cut the wedges oversized. If I left them this big the board would never sit flat.

I simply laid a ruler across the rib and marked where it intersected the wedge. I cut it a little smaller, so that it would be lower than the rib.
I then applied my non-skid material (self-adhesive non-skid stair tread covering) to the tops of the ribs and the bottoms of the wedges.

The bungee cord rides in grove cut into the tops of ribs and is attached with dowels at each end of the sled.

In Keith's article he used screws to secure the wedges after adjusting. You have to find the right size hole for this work well with your fingers. I played around with it for a while and half of mine worked well and half needed some help. I think I will look for something else that might work a little better.
This assembly only took a few hours, now it was time for a test run.

I placed the board on the sled, and looked at the ribs to see which ones were not touching the board. There were a few places where I had to push the wedges in to support the board.

Not sure if you can it in this picture, but the rib needed to be lifted up a little.

After a few passes through the planer, I had my first face flat. Keith mentions in his article/video that things can settle and move after the first couple of passes through the planer. Mine did move some and I had to adjust the wedges a couple of times. Over all it worked really well. I was a little concerned about the possibility of the board moving when going through the planer, but it stayed in place without any problems.
Now I can flatten some pretty wide boards, even though I only have a 6" jointer. I'll build some bigger sleds as the need arises, but this size should work well for most of my projects.


