

+-+-+-+-+-+-+-+-+-+-+-+-+-+-+-+-+-+-+-+-+
This is no longer in the format I originally created it in as far as I can tell. And I've heard that people are having trouble seeing the pictures here on Lumberjocks. So here is a link to these 7 blog segments captured in PDF form pictures intact and as how it looked when I created this blog.
+-+-+-+-+-+-+-+-+-+-+-+-+-+-+-+-+-+-+-+-+
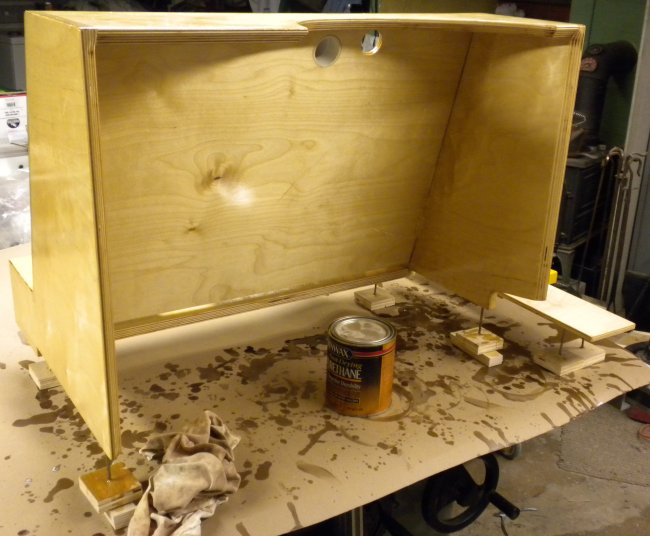
Top, middle rail, and back glued in place
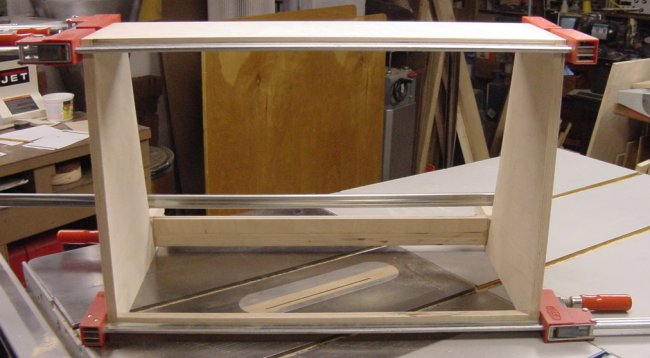
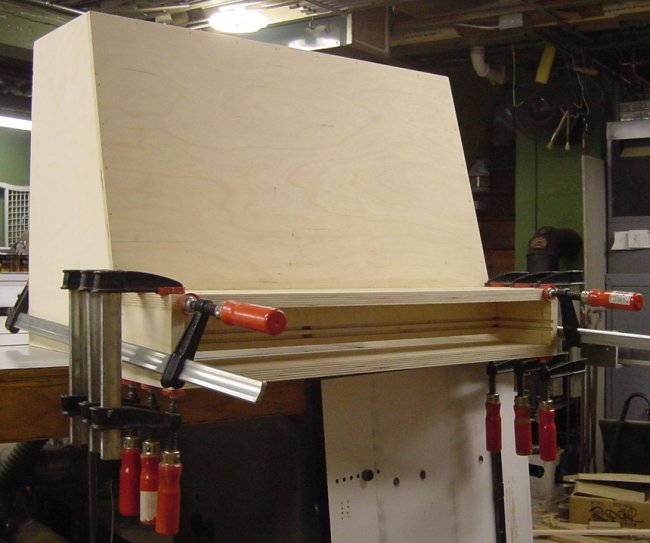
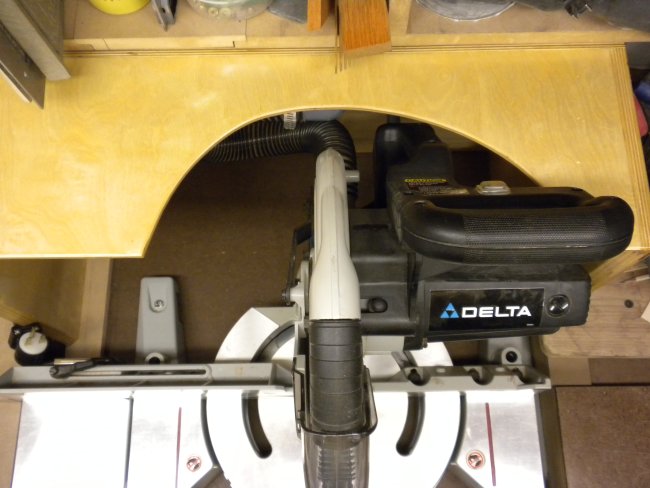
Well Sunday I finally got around to start building a new dust collection hood for behind my new miter saw. I had one behind my old miter saw but this new saw is wider and I had to redo the bench for it to fit thus making the old hood too small to cover the area needed. Been without one for about a year because I also picked up the Delta 12" RAS and had to redo the bench for that to fit also. So I wasn't about to build a hood until both the RAS and miter saw were firmly mounted in place. The hood is 28-1/2" wide and ~19" tall made out of Baltic birch plywood. It's wide enough to cover capturing the sawdust even when the saw is at 45 degrees in either direction. If all goes well I'm hoping to have it done by the weekend. Then I'll vacuum up all the sawdust that has accumulated behind the bench one last time and put it in place.
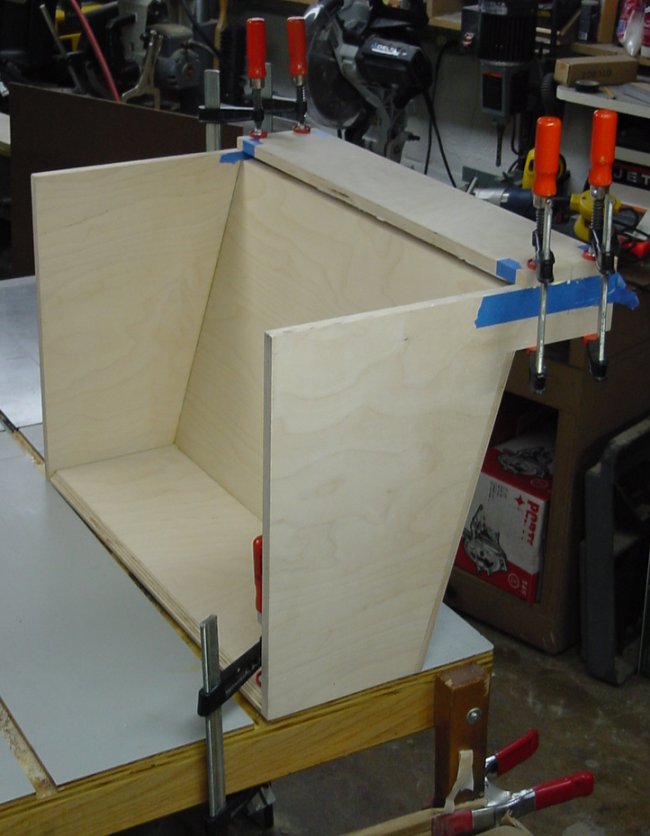
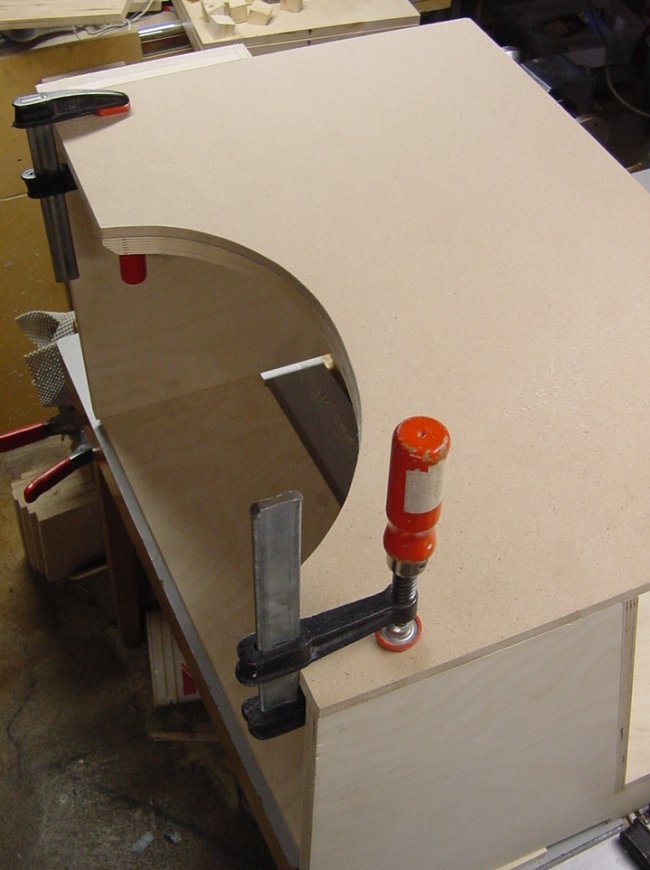
Front view with the top and middle divider rail glued and clamped in place.
![Image]()
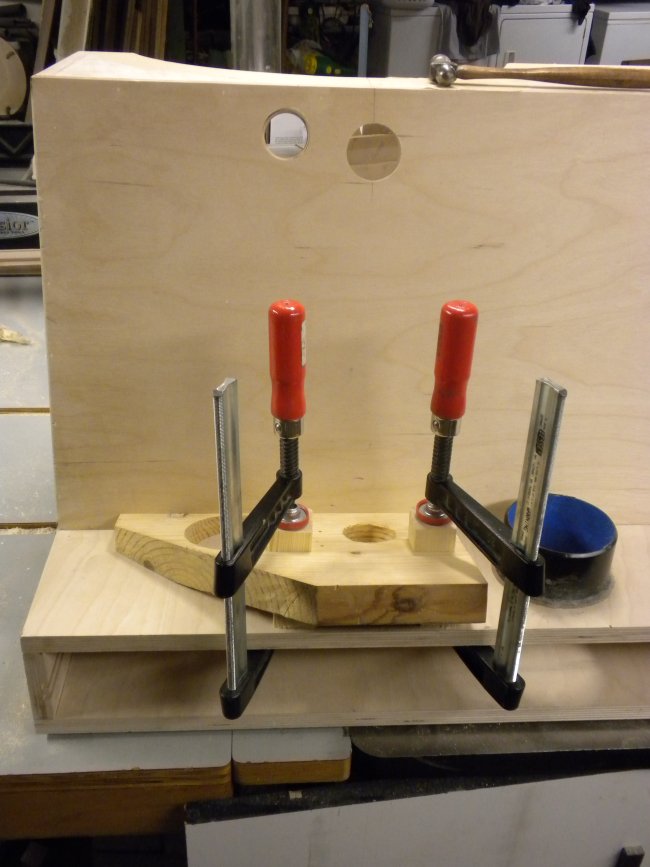
Side view of the same glue up.
![Image]()
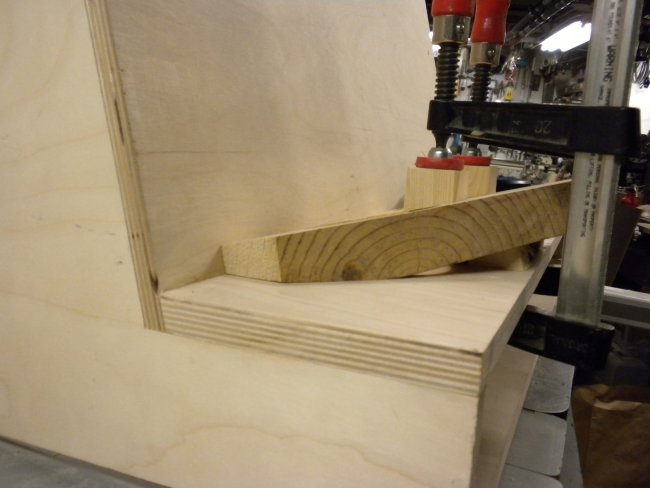
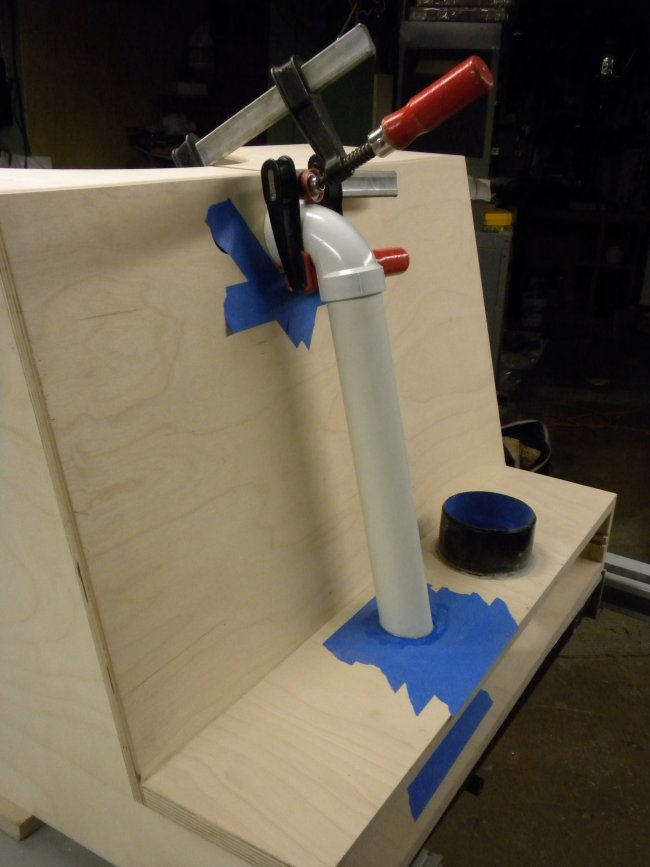
Picture of the middle rail and dado on the side on a 15 degree angle that continues down on the inside for the back. Once the back is in place there will be a 1/2" high opening from the benchtop along the full 27" inside width that will hopefully suck up the sawdust.
![Image]()
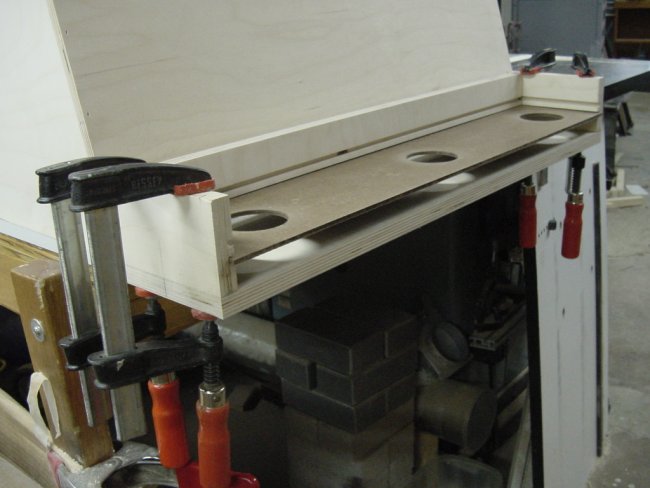
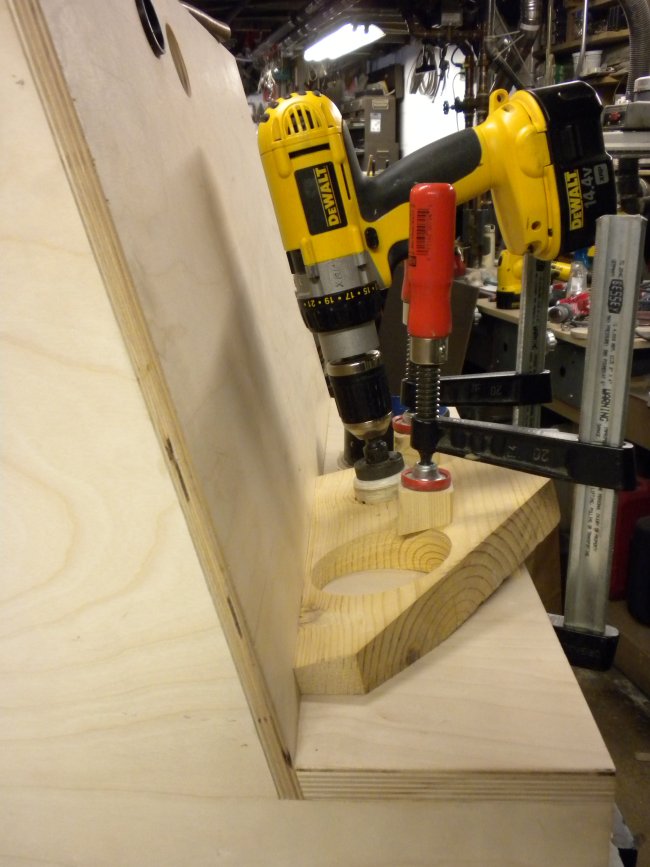
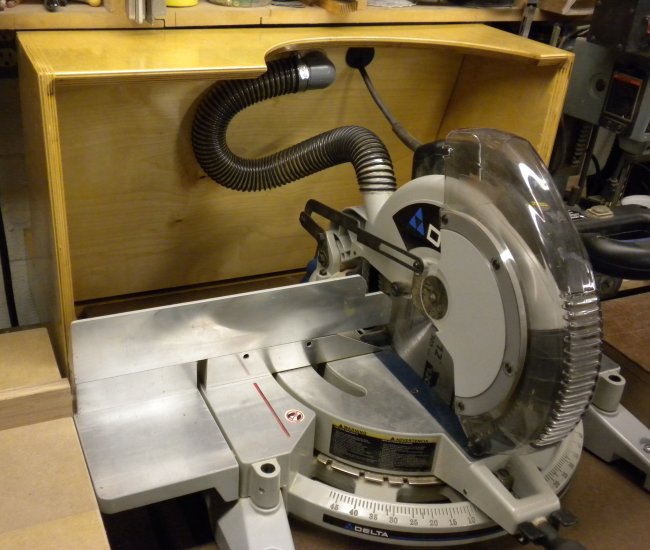
Front view of the back glued and clamped into place.
![Image]()
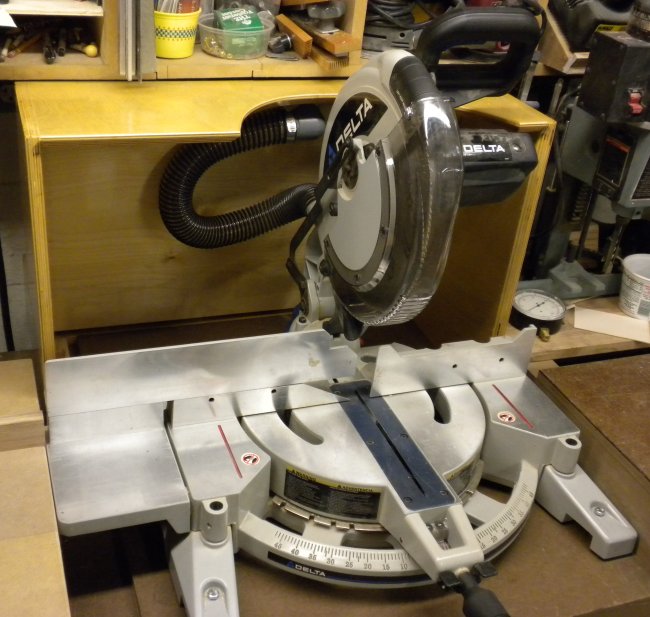
Side view of the back glued and clamped into place.
![Image]()
This is no longer in the format I originally created it in as far as I can tell. And I've heard that people are having trouble seeing the pictures here on Lumberjocks. So here is a link to these 7 blog segments captured in PDF form pictures intact and as how it looked when I created this blog.
+-+-+-+-+-+-+-+-+-+-+-+-+-+-+-+-+-+-+-+-+
Top, middle rail, and back glued in place
Well Sunday I finally got around to start building a new dust collection hood for behind my new miter saw. I had one behind my old miter saw but this new saw is wider and I had to redo the bench for it to fit thus making the old hood too small to cover the area needed. Been without one for about a year because I also picked up the Delta 12" RAS and had to redo the bench for that to fit also. So I wasn't about to build a hood until both the RAS and miter saw were firmly mounted in place. The hood is 28-1/2" wide and ~19" tall made out of Baltic birch plywood. It's wide enough to cover capturing the sawdust even when the saw is at 45 degrees in either direction. If all goes well I'm hoping to have it done by the weekend. Then I'll vacuum up all the sawdust that has accumulated behind the bench one last time and put it in place.
Front view with the top and middle divider rail glued and clamped in place.
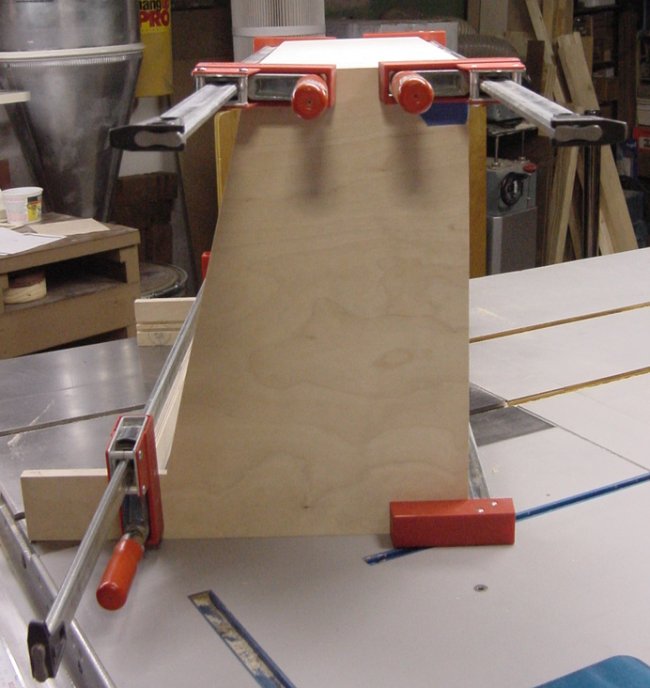
Side view of the same glue up.
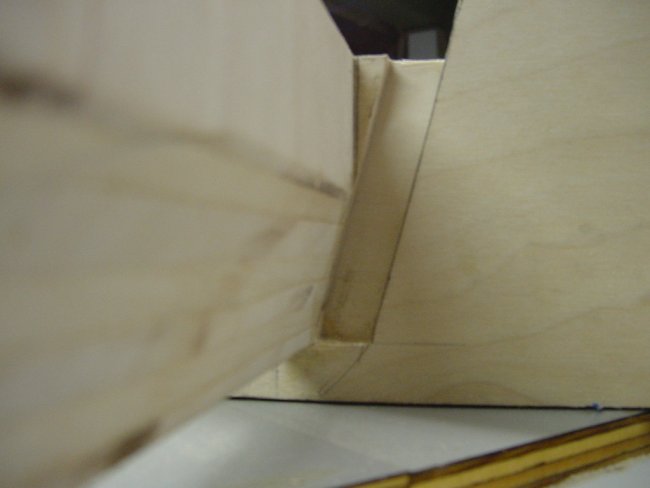
Picture of the middle rail and dado on the side on a 15 degree angle that continues down on the inside for the back. Once the back is in place there will be a 1/2" high opening from the benchtop along the full 27" inside width that will hopefully suck up the sawdust.
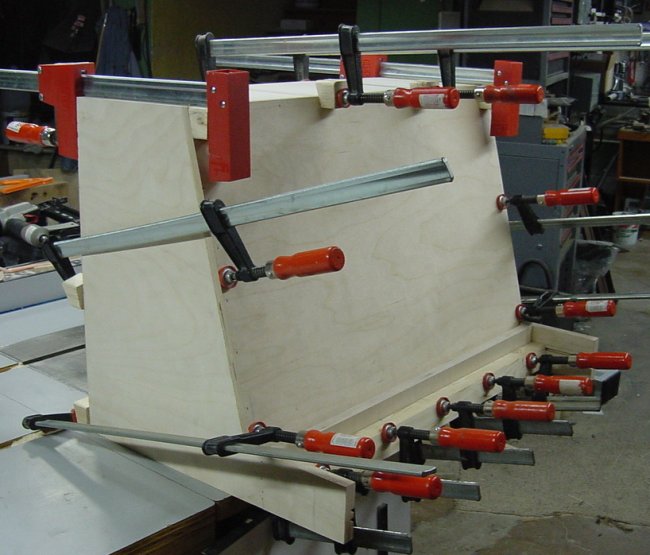
Front view of the back glued and clamped into place.

Side view of the back glued and clamped into place.
") ) Beyond that, I'm getting errors and don't get past the first three cuts. Vid stops when you turn the saw off. Might be on Utube's enmd. I'll try agian a little later.
) Beyond that, I'm getting errors and don't get past the first three cuts. Vid stops when you turn the saw off. Might be on Utube's enmd. I'll try agian a little later.

